This post contains affiliate links.
Why do jet pump motors often fail soon after they’re set up?
From my point of view, mistakes made during installation and not keeping up with maintenance are to blame. Even new motors can have problems. Many calls about pump troubles trace back to how they were installed or issues with the well. Mistakes like wrong wiring or other common slips need careful fixing. To do this well, we must follow steps closely when installing and figuring out problems.
Key Takeaways
- Improper installation or well failure is a leading cause of pump malfunction.
- Blown fuses and incorrect line voltage frequently result in pump issues.
- Wiring defects and defective motors are common problems.
- Pump starts and stops too often due to pressure tank leaks or defective air volume control.
- A pump operating but delivering little water can result from undersized piping or system leaks.
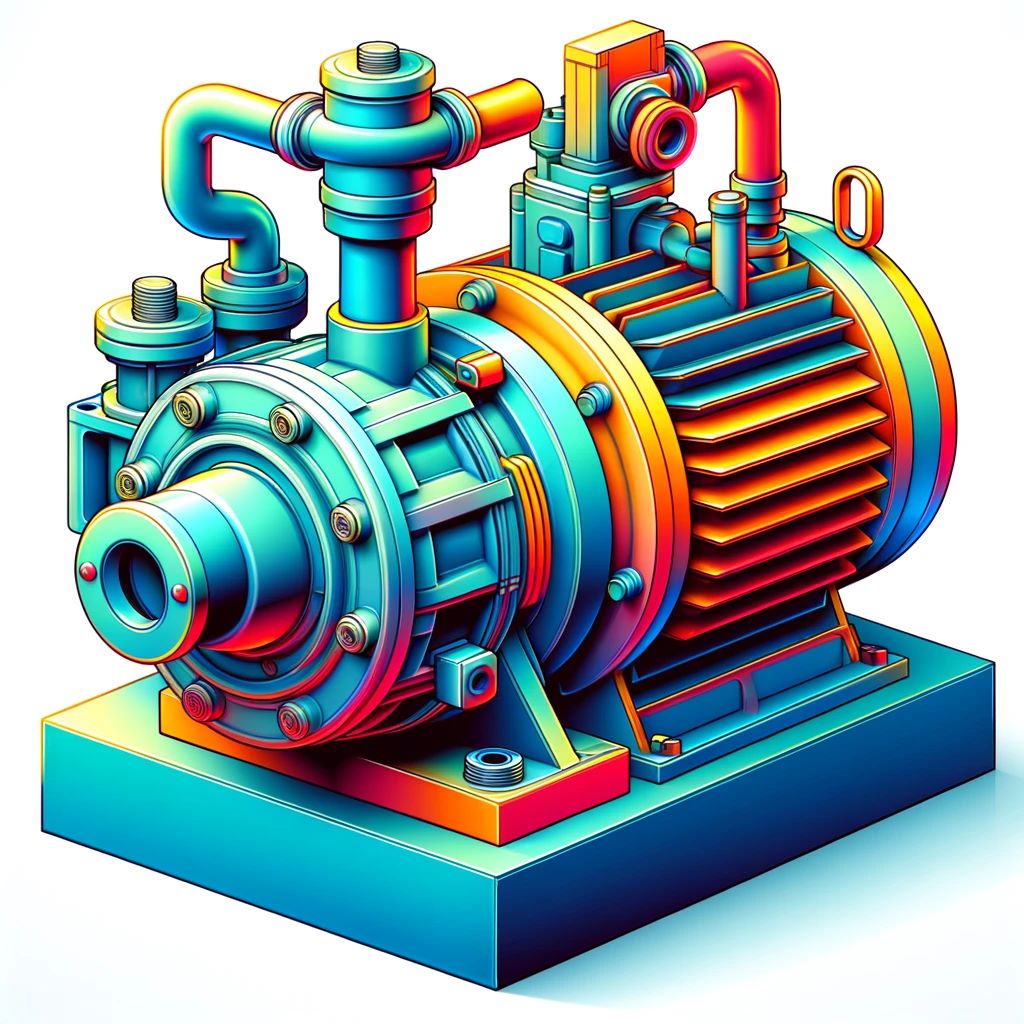
The Basics of Jet Pump Motors
Understanding jet pump motors is key for managing water in different settings. These motors are essential in pulling water from a source. They use suction from an impeller’s rotation. Knowing how they work helps us solve problems more effectively.
Understanding How Jet Pump Motors Work
Jet pump motors create a vacuum to draw water in. The motor spins the impeller, making this vacuum. Then, water gets pushed out, keeping a constant flow. Keeping the motor running well is very important.
For helping with any problems, a good jet pump motor troubleshooting guide is key.
Components of a Jet Pump Motor
A jet pump motor has several important parts:
- Motor: The main part that drives the impeller.
- Impeller: A rotor that boosts the fluid’s pressure and flow.
- Pressure Switch: It starts or stops the motor based on water pressure.
- Housing: Protects internal parts and manages water flow.
Knowing these parts makes fixing issues easier. Problems often stem from simple things, like too much air. Tools like an insulation resistance meter can point out motor grounding or wire damage. This makes troubleshooting simpler.
Maintenance and checking for blockages is crucial. Always check voltage and follow regulations when doing electrical tests. A professional electrician should do this. Understanding each part keeps your motor running well. It helps avoid common jet pump issues.
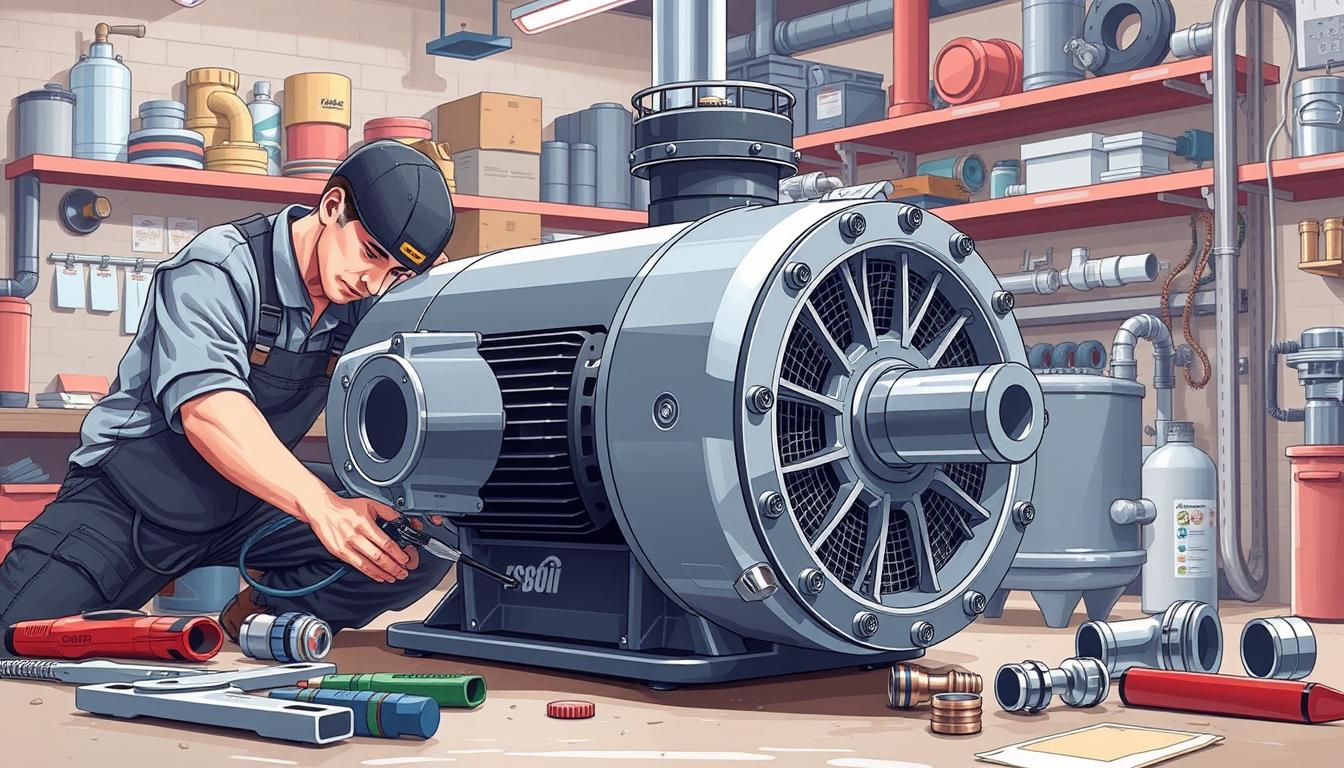
Preparing for Jet Pump Motor Installation
Getting ready for the installation of a jet pump motor is crucial for it to go well. Knowing what tools you need and safety steps to follow makes the installation go smoothly. One important tip for installing a jet pump motor is to have everything you need ready to go.
Required Tools and Materials
Having the right tools and materials is key for a good installation. Here’s what you should gather:
- Screwdrivers (flathead and Phillips)
- Pipe wrench
- Plumber’s tape
- Voltage tester
- Wire strippers and connectors
- Laser alignment tools
- Manufacturer’s wiring diagram
Make sure you also have special parts like the Wet End Kit (SKU: 72994) for $203.04, and the Complete Seal Kit (SKU: SK-WM-7000-V3-BYP) at $124.84, if you’re working with a Wavemaster 7000 Jet Pump.
Safety Precautions
Following safety rules is very important when installing a jet pump motor. Here’s what to keep in mind:
- Make sure the power is off before you start. This step keeps you safe from electric shocks.
- Check that the pump is grounded properly to avoid electrical problems that can happen if the grounding wire is damaged.
- Wait for the motor to cool before working on it to prevent burns.
- Compare the wiring to the manufacturer’s diagram to make sure it’s correct. This step helps you avoid mistakes that could make the motor work backwards.
- Plug the pump directly into a wall socket on its own circuit to prevent problems with the power.
- Use a laser alignment tool to line up the pump and motor correctly. This reduces the chance of vibration and wearing out parts.
It’s important to take time to line up the pump and motor just right. Doing this prevents overheating and too much vibration. Testing everything both before and after you’re done helps catch any issues early. This makes sure your system works well.

Step-by-Step Guide to Jet Pump Motor Installation
When installing a jet pump motor, you need to be precise and careful. Follow these jet pump motor installation steps to avoid mistakes. It’s important to mount the motor correctly, wire it properly, and prime the jet pump motor for reliable performance.
Mounting the Motor
Start by ensuring the motor fits the mounting area perfectly. This prevents future problems. Secure the motor tightly with strong bolts. Make sure it’s level to run smoothly.
It’s vital to keep three inches of space around the motor. This space helps improve airflow and stops it from getting too hot.
Connecting the Wiring
Wiring the motor right is key. Always use the correct wire size by following the motor’s guide. Avoid using thinner wires than recommended to prevent overheating.
It’s critical to ground the system well and follow all electrical codes. Check your wiring with tools like a multimeter to ensure safety.
Priming the Pump
Priming the jet pump motor is a must-do step. It gets rid of air to stop the motor from running dry and getting damaged. Look at the owner’s manual for your pump’s priming instructions. Proper priming makes the pump work well right from the start.
Common Installation Mistakes to Avoid
When setting up jet pump motors, make sure to avoid installation errors. These mistakes can cause big problems and lead to expensive fixes. Not choosing the right size pump is a common error. A pump that’s too big or too small won’t work efficiently.

Improper installation often leads to troubles like misalignment and piping issues. It’s crucial to follow the guidelines provided by the manufacturer. Ignoring pipe size and pressure tanks during system design is another mistake that hurts performance.
Electrical issues can cause the pump to fail. This includes wrong wiring or not having the right voltage supply. Making sure electrical connections are done right during setup is key to avoid problems with jet pump motor troubleshooting.
Forgetting regular upkeep can cause less efficiency and early damage.
Regular maintenance is important. For instance, checking seals can stop leaks and prevent pump failures. If seals are poorly aligned or of bad quality, it could spell disaster. Also, failing to keep an eye on pressure levels and flow rates means problems might not be spotted early.
Not priming the pump correctly is a common mistake. It can cause cavitation, which hurts the pump’s efficiency and might damage it. Making sure the pump is installed in the right spot is vital to prevent harmful vibrations that lead to damage and misalignment.
- Incorrect Sizing: Choosing the correct pump size is critical.
- Improper Installation: Stick to the guidelines to dodge alignment and piping trouble.
- Inadequate System Design: Don’t overlook any system details like pipe size.
- Lack of Maintenance: Regular checks keep things running smoothly.
- Electrical Issues: Ensure the wiring and voltage are correct.
- Failure to Monitor Performance: Always check the pressure and flow.
- Bad-Quality Seals: Good alignment and quality of seals are essential.
- Noises and Vibrations: Focus on fixing bearing failures and pipework correctly.
- System Contamination: Cleanliness and maintenance are key.
| Common Error | Potential Impact |
|---|---|
| Incorrect Sizing | System inefficiency |
| Improper Installation | Misalignment, piping issues |
| Inadequate System Design | Poor performance |
| Lack of Maintenance | Decreased efficiency, wear and tear |
| Electrical Issues | Pump failure |
| Failure to Monitor Performance | Overlooked issues |
| Bad-Quality Seals | Leaks, pump failure |
| Noises and Vibrations | Pump damage, misalignment |
| System Contamination | Health and safety concerns |
Being aware of these points can greatly cut down on future jet pump motor troubleshooting needs. This enhances your installation’s efficiency and life span.
Initial Testing After Installation
After installing the jet pump motor, it’s crucial to test it. Proper testing makes sure the system runs well. It also helps avoid problems in the future.
Checking for Leaks
It’s vital to check for jet pump motor leaks. Leaks can damage your pump’s efficiency and shorten its life. Look over all connections, seals, and the housing for water leaks. Fix leaks right away to prevent more damage.
Ensuring Proper Voltage
Verifying the voltage is key in the initial tests. Make sure the power level matches what the maker recommends. The right voltage keeps the pump working correctly and lasts longer.
When checking voltage, measure at different wiring points. You should get 115v on each side of a 2-wire setup. Also, do resistance checks to see if the motor’s okay. Look for readings from 4.2 to 5.2 ohms. A resistance under 200 ohms means the motor is likely fine.
| Factor | Optimal Range |
|---|---|
| Voltage per side (2-wire) | 115v |
| Resistance | 4.2-5.2 ohms |
| Low Resistance | <1 ohm |
Following these steps helps your jet pump motor work well. It prevents early failures. Always use the manufacturer’s guidance for the best outcome.
Regular Maintenance for Jet Pump Motors
Keeping a jet pump motor in top shape is key to its durability and function. It’s important to do regular checks and replace any parts that show wear. By sticking to the maker’s advice and doing these routine checks, you can keep the system running well.
Routine Inspections
Watching the pump while it works is important. Be on the lookout for leaks, odd noises, or smells, which might suggest problems. It’s also vital to know how to safely turn the machine off when checking it.
During mechanical checks, look for leaks at connection points and inspect the seals and flanges. Make sure to clean filters to stop clogs. Lubricating the motor and pump bearings as recommended is crucial to avoid damage.
For the electrical part, check the motor’s connections, vents, and windings for dirt or signs of damage. Doing insulation tests can catch electrical problems early.
Replacing Worn Parts
Changing old parts of the jet pump motor on time helps keep it running without issues. Replace any seals, hoses, and O-rings that are worn out to avoid leaks. Use rubber lubricants like P-80 for easy assembly and to prevent problems later. These are safe for the pump and good for the environment, unlike oil-based products.
| Maintenance Task | Frequency |
|---|---|
| Mechanical Inspection | Every 6 months |
| Electrical Inspection | Every 6 months |
| Lubrication of Bearings | As per manufacturer’s guidelines |
| Replace Seals, Hoses, O-rings | As needed |
Troubleshooting Jet Pump Motors
Troubleshooting jet pump motors requires care. Spotting common issues early helps ensure they last long and work well. It’s vital to know the signs and follow the right steps to fix them.
Pump Won’t Start or Run
Is your pump not starting? First, check the power supply. Make sure the fuses are good and there’s no problem with the voltage. Faulty wiring is a common issue for jet pump motors. Also, look at the pressure switch to make sure it’s functioning.
If everything seems okay, try turning the motor shaft by hand. This is to see if rust or something else is blocking it.
Motor Overheating
Overheating can happen with jet pump motors. It might occur if it runs too long or the system is too much for it. To fix overheating issues, make sure the motor is in a cool place and clean. Check that the voltage is right. It should be within 5% of what the motor needs. This helps avoid overheating from the wrong voltage.
Pump Starts and Stops Too Often
A pump that turns on and off too much may have a tank or switch problem. First, check the tank’s pre-charge pressure. It should be 2 psi below the cut-in pressure. Look for air leaks in the tank too. These leaks can make the motor work more than it should.
If it’s not clear what to do, look at a troubleshooting guide. Or you might want to talk to an expert for tough problems.
For more details on fixing common jet pump motor issues, check out this guide.
Advanced Troubleshooting Techniques
Some jet pump motor issues need more than basic fixes. Problems like air locks or waterlogged tanks get tricky. You may need to change the pipes or replace parts.
Looking at past maintenance records is a smart step. It shows what repairs keep coming up. Also, tracking how the pump has been working is key. Note how much water it moves, pressure levels, and if anything’s vibrating or too hot.
Modern tech helps in spotting problems early. Make sure sensors work right and check the data they collect. Always run safety checks, ensuring everything’s safe and follows the rules.
Inspecting the pump parts closely is also crucial. Look at the impeller for any damage and check it’s attached well. The pump shaft should be straight and not worn out. Writing down what you find and taking pictures can help a lot.
FAQ
How do I install a jet pump motor correctly?
What tools and materials are required for jet pump motor installation?
What safety precautions should I take when installing a jet pump motor?
Why is priming a jet pump motor important?
What are common mistakes to avoid during jet pump motor installation?
How should I test the jet pump motor after installation?
What routine inspections are necessary for jet pump motor maintenance?
How do I troubleshoot a jet pump motor that won’t start or run?
What could cause a jet pump motor to overheat?
Why does my jet pump motor start and stop too often?
What advanced troubleshooting techniques should I consider for persistent jet pump motor problems?
This post contains affiliate links.