This post contains affiliate links.
When the water flows crystal clear from your faucets, it’s easy to forget the intricate system working tirelessly below ground. But what happens when the flow falters or stops altogether? Suddenly, the autonomy that comes from having your own water source seems daunting—unless you have the skills for DIY well repair. This comprehensive guide is tailored for homeowners like you, seeking to take charge of water well maintenance and gain peace of mind in knowing that you can ensure the safety and reliability of your home’s water supply. Packed with clear, home well repair instructions, this guide aims not just to inform, but to empower you to handle well-related issues with poise and confidence.
From recognizing early signs of system failures to wielding the right tools for the job, this guide serves as your ally. Turning homeowners into capable stewards of their wells, we lay down the knowledge foundation brick by brick, ensuring that with each page turned, your ability to tend to your well’s needs grows stronger. Now is the time to embrace the wisdom of self-reliance—your well is calling.
Key Takeaways
- Embrace the independence of mastering DIY well repair.
- Gain essential know-how for routine water well maintenance.
- Acquire step-by-step home well repair instructions for various issues.
- Learn to diagnose and tackle common issues with confidence.
- Understand the significance of having the right tools and safety measures in place.
- Become equipped to ensure the longevity and purity of your household’s water source.
Understanding Your Well System Basics
To grasp the principles of well repair and maintenance, one must first familiarize themselves with the standard framework of well system components. Understanding the anatomy of your well and its functionalities is crucial in identifying and remedying issues that can arise. Let’s dive into the components that make up your well, explore the various types of well systems, and learn the signs that indicate potential well problems.
The Anatomy of a Typical Well
A well is more than just a hole in the ground; it is a precisely crafted structure with multiple parts working in tandem to deliver water to your household. At its core, you typically find a casing to line the hole, a cap to seal it from contaminants, pipes to transport the water, and a pump to draw it up. Understanding this anatomy is essential in identifying any issues that may hinder your water supply.
Common Types of Wells and Their Components
There are various types of well systems, each distinct in their construction and components. The most common types include drilled, dug, and driven wells. Drilled wells, reaching depths of several hundred feet, rely on robust pumps and extensive casing. Dug wells, shallow and vulnerable to contamination, often require frequent maintenance. Driven wells offer a middle ground in depth and typically use a simpler pumping mechanism. Each type demands its own set of well components and care techniques.
Recognizing Signs of Well Failure
Whether it’s due to natural wear and tear or outside interference, knowing the signs of well problems can save you time and money. Keep an eye out for fluctuations in water pressure, odd tastes or odors, discolored water, or unexpected spikes in utility bills. These are clear indicators that your well system may require your attention or professional assessment and likely involve one of the well system components.
Remember, the more informed you are about your well system, the more prepared you’ll be to prevent or identify and resolve any problems that come your way. Your well represents a vital source of water, and its maintenance is key to your home’s well-being.
Essential Tools and Safety Gear for Well Repair
Embarking on well repair requires not only technical know-how but also an arsenal of well repair tools and well maintenance safety gear. This ensures that every task, from the minor adjustments to significant overhauls, is performed with the utmost precision and care. Before diving into the intricate world of well repair, let’s outline the fundamental equipment and protective wear that are pivotal for safeguarding your well-being throughout the maintenance process.
Must-Have Tools for Well Repair Projects
To effectively tackle well repair, you’ll need a variety of specialized tools designed to handle the unique challenges presented by well systems. Whether you’re dealing with submersible pumps or surface issues, having the right tools is the key to efficient and successful repair work.

- Pipe wrenches for securing and manipulating fittings and couplings
- A T-handled pump removal tool for lifting the pump from the well shaft
- Waterproof flashlights or headlamps to illuminate the work area
- Pressure gauges to assess system performance
- Telescopic inspection mirrors for examining hard-to-see components
Personal Protective Equipment (PPE) Basics
During well repairs, your safety hinges on the use of appropriate well repair PPE. Personal Protective Equipment ensures you are shielded against the various physical and chemical hazards that can be encountered during well maintenance.
| PPE Item | Description | Usage |
|---|---|---|
| Hard hat | Protective helmet to guard against head injuries | Worn throughout repair tasks to protect from falling objects or accidental hits |
| Safety glasses or goggles | Eye protection to prevent debris, chemicals or particles from entering the eyes | Used when drilling, cutting, or handling chemicals |
| Heavy-duty gloves | Durable, cut-resistant hand protection | Crucial when manipulating tools or rough materials |
| Steel-toe boots | Footwear with reinforced toe caps | Necessary when working in areas where heavy tools or materials might be dropped |
Electrical Safety When Working with Wells
Because water and electricity create a hazardous combination, understanding and implementing electrical safety practices is critical. Prior to any repair, always disconnect power to the well pump and any associated systems. Use a voltage tester to ensure no current is present. When handling electrical components, wearing non-conductive gloves and boots adds an extra layer of protection, effectively minimizing the risk of electrical shock.
Common Well Problems and DIY Solutions
When it comes to your home’s well system, encountering a few hitches is practically inevitable. Fortunately, with a little know-how, many of these common well issues can be resolved through DIY well fixes. This section is dedicated to helping you gain the skills necessary for well repair troubleshooting, ensuring that you can take charge and mend minor mishaps efficiently. Let’s dive into some of the prevalent problems you might face and explore the DIY solutions that can get your well back in operation.
- Low Water Pressure: This is often a symptom of a clogged filter or aerator. To rectify this, simply remove the clog by cleaning or replacing the affected part.
- Intermittent Water Pump Cycling: This can be caused by a leak in the system or a malfunctioning pressure tank. Initially, inspect for leaks, then test and, if necessary, replace the pressure switch.
- Contaminants in Water: Install a water filtration system to remove impurities, ensuring your water is safe for consumption.
- Odd Noises from the Well Pump: These noises could indicate air getting into the system or a failing pump. Check for air leaks and assess the pump’s condition for possible replacement.
- No Water at All: This could be a serious problem like a dry well or a broken pump. Begin by checking the power supply to the pump and resetting any tripped circuit breakers.
Each of these fixes is a practical approach to maintaining your well’s performance, but remember that routine checks and regular maintenance are key to preventing these issues from becoming major frustrations.
Troubleshooting: Diagnosing Your Well Issues
When it comes to well maintenance, the ability to diagnose well problems is an invaluable skill that can save both time and money. An effective well troubleshooting guide will equip you with the necessary steps to identify the cause of common issues. To help with your water well diagnostics, here’s a methodical approach to uncovering the root of your well troubles.

Start by considering the symptoms you’re experiencing. Is the water pressure low? Is there silt or discoloration in the water? Or perhaps the pump is noisy or not running at all? Each of these indicators can point towards different issues within your well system. The following table outlines some frequent well problems and potential causes to consider:
| Symptom | Possible Cause | Next Steps |
|---|---|---|
| No Water | Pump failure, tripped breaker, or drought | Check power supply, reset breaker, measure water table |
| Low Pressure | Clogged pipes, failing pressure tank | Inspect and clean pipes, evaluate pressure tank function |
| Dirty Water | Sediment in well, corroded pipes | Inspect well for sediment, check for pipe corrosion |
| Air “Spitting” from Faucet | Malfunctioning pressure switch, tank bladder | Test and possibly replace pressure switch or tank bladder |
Once you’ve cross-referenced your symptoms with the potential causes, you’ll be better positioned to take corrective action. Sometimes, the solution may be as straightforward as resetting a tripped circuit breaker. Other times, you may need to delve deeper, such as inspecting the well pump or cleaning out sediment. If in doubt, consulting with a professional may be the prudent choice to ensure the integrity of your well system.
Remember, while some troubleshooting steps can be performed safely by yourself, any work involving electrical components or significant mechanical repairs should be done by a certified technician to avoid injury and unintended damage to your well system.
Taking a step-by-step approach to well troubleshooting can lead to more accurate diagnoses and, ultimately, the efficient restoration of your well’s function. Keep this guide handy, and you’ll be well on your way to becoming proficient in maintaining the performance and reliability of your water supply.
Well Repair, Yourself: Step-by-Step Guides
Embarking on a mission to maintain and optimize your well’s performance is a vital skill for any homeowner. With the suitable knowledge, you can tackle well pump repairs, enhance your well water flow, and implement water quality solutions. Let’s delve into the pragmatic steps you can follow to ensure your water supply remains robust and pure.
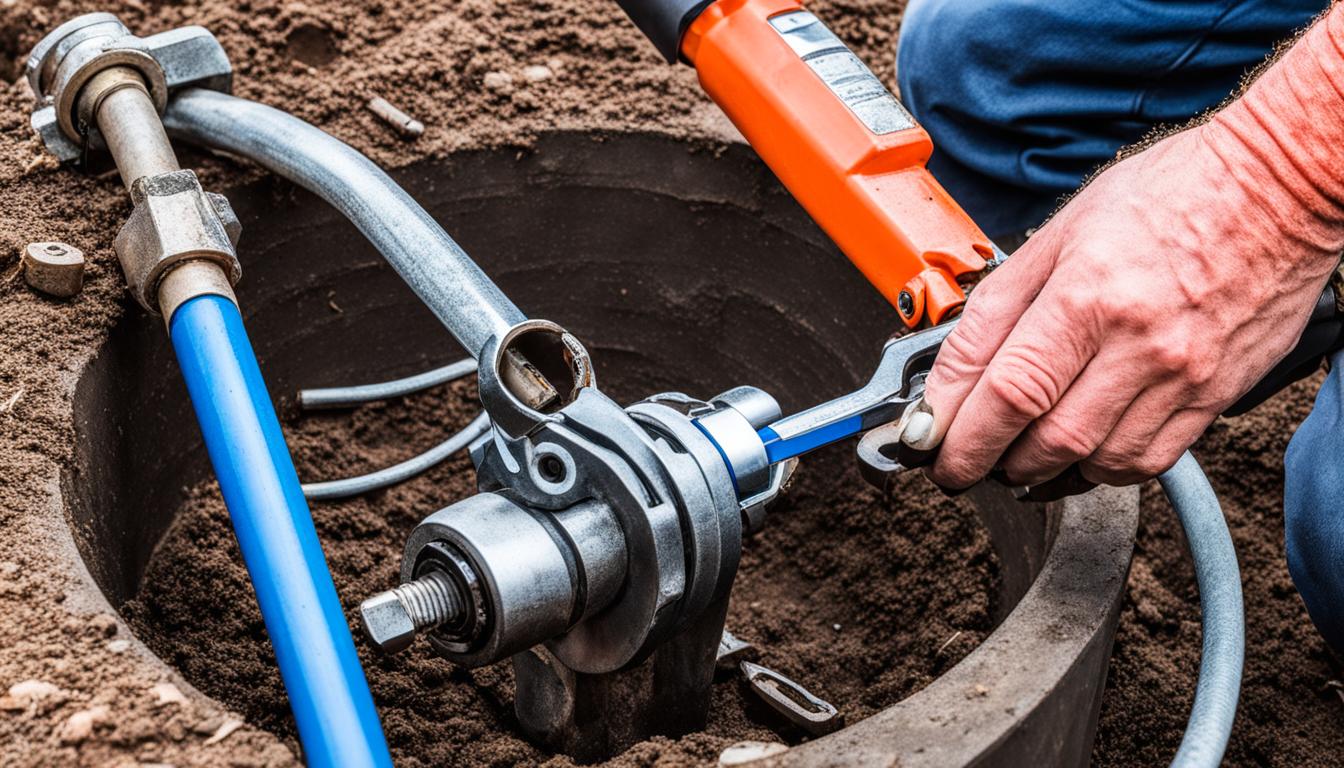
Repairing or Replacing a Faulty Well Pump
If you’ve noticed a drop in water pressure or a complete halt in water delivery, it might be time to scrutinize your well pump. A well pump repair guide can serve as your roadmap to diagnosis and remedy. Start with shutting off the power to the pump and proceed to inspect for any visible damage or wear. Often, a simple component replacement can restore functionality, but if the pump is beyond repair, selecting a new, efficient model will be your next step.
Clearing Clogs and Improving Water Flow
Improving well water flow is crucial for maintaining a consistent water supply. Sediment build-up or blockages can drastically reduce the efficiency of your well system. Begin by removing debris from the well screen and checking for obstructions within the pipes. A systematic flush of the system might be required to dislodge any stubborn clogs, ensuring a reinvigorated water flow.
Addressing Water Quality Concerns
Pure water is paramount for health and wellbeing. Water quality solutions encompass a broad spectrum of practices, from introducing filtration systems to regular testing for contaminants. Create a routine that includes periodic water quality assessments and, if necessary, the administration of water treatments to neutralize any detected impurities.
By familiarizing yourself with these methods and taking a proactive approach, you stand to not only prolong the life of your well but also to enhance the quality of your water supply. Below is a summary table to help you identify which actions to take for specific well repair and maintenance scenarios.
| Problem | Step-by-Step Action | Expected Outcome |
|---|---|---|
| Low Water Pressure | Check pressure tank, inspect well pump, clear clogs in pipes | Restoration of water pressure to optimal levels |
| Water Not Flowing | Assess electrical supply, replace malfunctioning pump components or entire pump | Resumption of normal water delivery |
| Impure Water | Test water quality, install appropriate filtration, regularly clean well components | Improvement in water clarity and purity, assurance of water safety for usage |
Conclusion
Throughout this guide, we’ve journeyed through the essential knowledge needed for successful well repair and the upkeep required in maintaining your well. We’ve equipped you with the foundation of understanding your well’s anatomy, recognized the signs of trouble, and most importantly, delivered the confidence to tackle issues with self-reliant well solutions. By embracing the DIY spirit, you’ve gained more than just practical skills; you’ve empowered yourself with an invaluable sense of independence.
Adhering to the described safety precautions is critical – it ensures not only the enduring function of your water system but also your personal wellbeing. Regular check-ups, coupled with the step-by-step approaches for diagnostics and repairs that we’ve discussed, will serve to extend the lifespan of your well and safeguard the quality of your water. Taking these proactive measures can prevent bigger problems down the line, securing a safe and reliable water supply for you and your family.
As we conclude, remember that the skills and wisdom you’ve gained are more than just a means to an end. They represent a sustainable approach to living, one where your resilience and self-sufficiency shine. Embrace this knowledge, refine these skills, and take pride in the proficiency you’ve cultivated in well maintenance. Should challenges arise, recall the guidance laid within these pages, and approach each task with assurance, knowing you are fully capable of restoring your well’s performance and preserving its quality for years to come.
FAQ
What are the basic steps I need to take before starting a DIY well repair project?
Before you start a DIY well repair project, you should gather the necessary tools and safety gear, turn off the power to your well system, and clearly understand the repair process. Refer to your well’s manual and familiarize yourself with the system’s anatomy and the specific issue you aim to fix.
Can you provide an overview of the typical components of a well system?
Yes, a typical well system consists of several main components including the well pump, pressure tank, water pipes, electrical and control systems, and the well casing. Understanding how these parts work together is crucial for maintenance and troubleshooting.
How do I identify different types of well systems and their specific components?
Different types of wells like drilled, dug, and driven wells have unique components. Drilled wells typically have submersible pumps, dug wells often use jet pumps, and driven wells are shallow and may have different casing materials. Research or consult a professional to understand the specific components of your well system.
What are the signs that indicate my well needs repair?
Signs of well problems include a decrease in water pressure, sputtering faucets, cloudy or dirty water, strange noises from the well pump, and unexplained increases in utility bills. If you notice any of these signs, it’s likely your well needs attention.
Which tools are essential for DIY well repairs, and what safety gear should I use?
Essential tools for DIY well repairs include a pipe wrench, Teflon tape, multimeter, and well pump puller. Safety gear should include gloves, goggles, and heavy-duty clothing to protect against electrical hazards and physical injury.
Can you explain basic electrical safety when working with water wells?
Always turn off power at the breaker before working with well components to prevent electrical shocks. Use a multimeter to double-check that power is indeed off, and avoid working in wet conditions. Consider the guidance of a professional when dealing with complex electrical issues.
How do I troubleshoot common well problems?
To troubleshoot well problems, start by checking the power supply and circuit breaker, inspect for leaks or damage to the well casing or pipes, test the pressure switch and tank, and look for signs of a failing well pump. Documenting the symptoms can help isolate the issue.
What are some DIY fixes for low water pressure in my well?
DIY fixes for low water pressure include checking for clogged filters, ensuring the pressure tank is functioning correctly, adjusting the pressure switch, and inspecting for any leaks in the system. If these don’t work, the well pump might need attention.
How can I improve the water flow in my well?
Improving water flow can involve cleaning or repairing the well screen, removing obstructions from pipes, and ensuring that the well pump is the correct size and operating efficiently. For persistent issues, a professional assessment might be necessary.
What should I do if I’m concerned about my well water’s quality?
If you’re concerned about water quality, have your water tested by a certified lab to determine the contaminants present. Based on the results, you may need to install water treatment systems, such as a filter or disinfection system, or adjust the well components affecting water quality.
What are the steps for repairing or replacing a faulty well pump?
Repairing or replacing a faulty well pump involves turning off the electrical power, draining the system, removing the faulty pump, and then installing the new pump following the manufacturer’s specifications. For deep wells, special tools or professional assistance might be required.
Where can I find step-by-step guides for conducting well repairs myself?
Step-by-step guides for well repair can be found in DIY repair manuals, well maintenance books, online instructional videos, and reputable home improvement websites. Always ensure that the sources are credible and that they offer detailed, safety-focused instructions.
This post contains affiliate links.