This post contains affiliate links.
In an era defined by professional services and specialists for all household needs, have we underestimated the power of DIY? When it comes to maintaining your home water system, the ability to address issues with a water well pump installation could very well be the cornerstone of true self-sufficiency. This comprehensive DIY well pump replacement guide bridges the gap between professional reliance and the gratifying realm of do-it-yourself home maintenance. Ready your tools and embrace the challenge; you’re about to navigate the intricacies of replacing your well pump—DIY style.
Here, you will unravel the mysteries of diagnosing your well pump issues and delve into the overlooked art of well pump DIY. From selecting the perfect tools to deciphering the nuances of your home water system, we’ll walk you through this indispensable skill set with professional tips and tricks. Armed with knowledge and the spirit of self-reliance in home maintenance, you’re about to ensure your family’s uninterrupted water supply. Let’s get your hands dirty and your water flowing!
Key Takeaways
- Understand the essentials of diagnosing common well pump issues.
- Prepare confidently with a detailed list of necessary tools and materials.
- Discover the step-by-step process of a water well pump installation.
- Learn vital safety precautions for a successful DIY well pump replacement.
- Embrace the satisfaction of self-reliance in home water system troubleshooting and maintenance.
Understanding the Basics of Your Well Pump System
Embarking on a DIY well pump replacement starts with a fundamental understanding of the well pump system that operates beneath your home. Knowing the difference between the types of well pumps at play, familiarizing yourself with the various well pump components, and recognizing when there may be well pump failure symptoms could save you time and money in maintenance and repairs.
Identifying Your Well Pump Type
Within the realm of well pumps, the two main contenders are submersible pumps and jet pumps. Each operates differently: submersible pumps are placed deep in your well and boost water to the surface, a more energy-efficient and quieter option for deeper wells. In contrast, jet pumps are situated above ground, using suction to draw water up—an optimal choice for shallower wells.
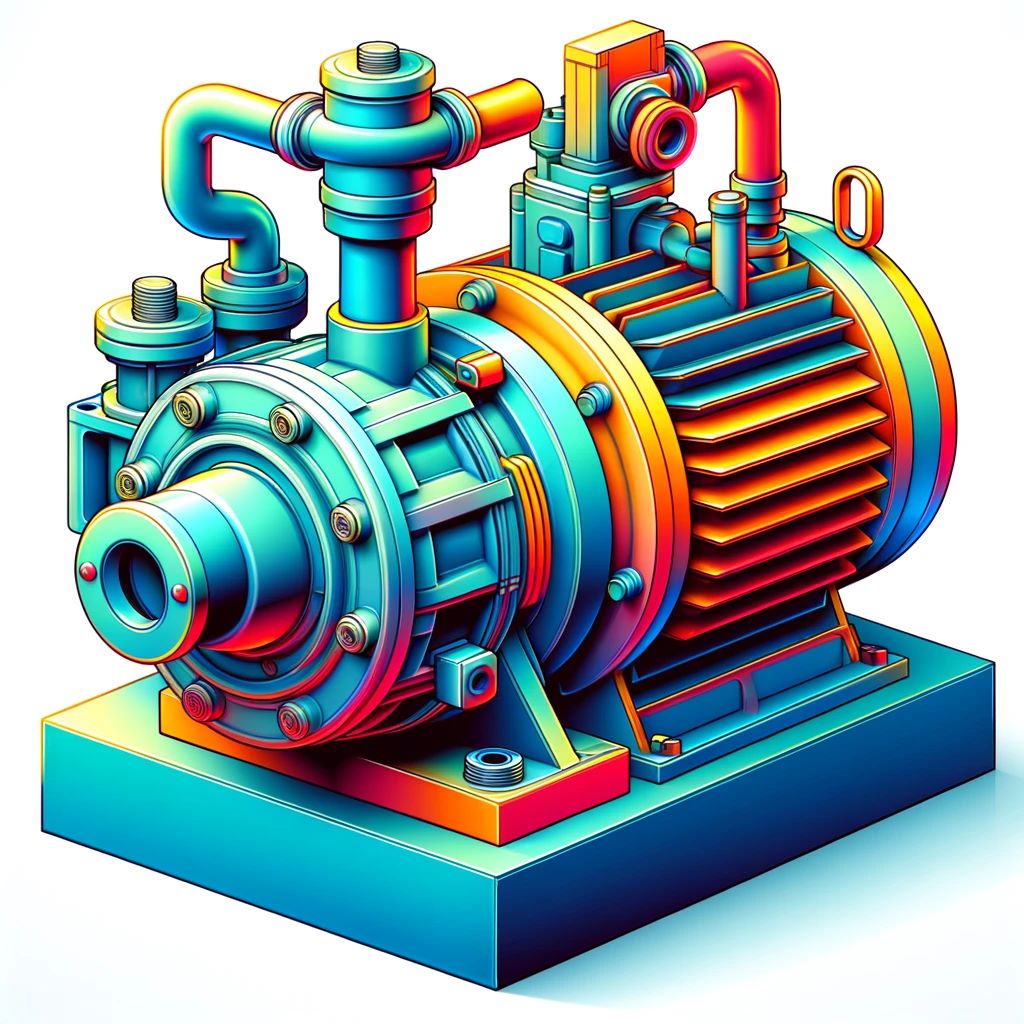
The Components and Their Functions
Understanding each part of your well pump system is crucial. The pressure tank and pressure switch work in tandem to regulate water pressure and flow. The tank stores water under pressure for distribution throughout your home, while the switch commands the pump to activate when the pressure drops. Each component—be it a valve, a pipe, or the motor—has a role in ensuring that clean, pressurized water is delivered whenever you turn on a tap.
Signs That Indicate a Need for Replacement
Even with the sturdiest system, well pump failure symptoms can emerge. Be mindful of fluctuations in water pressure, the hallmark of potential issues. Any strange noises or a sudden lack of water entirely are clear signs that your well pump may require attention—or even replacement. Acknowledge these warning signals promptly to prevent a small hiccup from escalating into a full-blown water crisis.
By grasping these essential elements, you’re on the right path to successfully tackling a well pump replacement and ensuring a continuous and reliable water supply for your home.
Preparing for Well Pump Replacement, Yourself

When considering a DIY well pump repair, the key to success lies in meticulous replacement preparation. This prologue to the hands-on work is as crucial as any actual repair, and it starts with safe pump removal. Commit these preparatory steps to memory to ensure a smooth transition to the practical phase of your project.
- Perform Well Pump Troubleshooting: Start off by confirming the necessity of a replacement. Some problems might be solved with simpler repairs.
- Power Shut-Down: Safety first – ensure the electrical supply to your well pump is completely turned off to avoid shock or injury.
- Environmental Prep: Prepare your work area, clearing space and setting up for straightforward access to the pump.
- Tool and Parts Organization: Gather all necessary tools and replacement parts, situating them within close reach to keep workflow steady.
Ensuring a safe pump removal is an essential aspect of replacement preparation. As you unhitch the pump, be mindful to avoid damage to both the pump mechanism and your well’s structure. And remember, a correctly diagnosed problem sets the tone for an effective well pump troubleshooting process, cutting out unnecessary work and paving the way for a seamless installation of the new unit.
Wrap up your preparatory phase with a final safety check. Inspect equipment for any damage and verify once more that the power source remains disconnected. Only then can you consider moving on to the task at hand. With thoughtful preparation, your DIY well pump repair will not only be a success but also a testament to your self-reliance and home maintenance skills.
Tools and Materials Needed for Replacing a Well Pump
Embarking on a well pump replacement project requires not just expertise, but also the right set of tools and materials. Having everything at hand before you start will ensure a smooth and safe process. Below you’ll find a curated list of indispensable items that will guide you through the well pump replacement while prioritizing your safety.
List of Essential Tools
- Pipe Wrench
- Teflon Tape
- Safety Rope
- Voltage Tester
- Plumbing Pliers
Remember, these well pump replacement tools are the backbone of your DIY project. They’ll help you dismantle the old setup and install the new components with precision and care.
Gather Necessary Replacement Parts
When it comes to parts, quality and compatibility are key. Make sure you have:
- A high-grade well pump repair kit suitable for your pump model.
- Durable piping or hose that meets the specifications of your water system.
- Fittings and connectors that are designed to withstand the pressure and load of daily water usage.
It’s worthwhile to invest in premium parts for longevity and reliability of your pump, reducing the chances of future failures.
Safety Equipment to Consider
Safety gear for well replacement is not an option, but a necessity. Ensure protection with:
- Protective Gloves
- Safety Eyewear
- Steel Toe Boots
Wrapping up your well replacement project unscathed is just as essential as the technical success. Adequate safety gear will protect you from potential hazards and give you the peace of mind to focus on the task at hand.
From the specific well pump replacement tools to the vital safety gear for well replacement, this list encompasses all you need to replace your well pump efficiently and safely. With these tools and materials ready, you’re set to move forward confidently in restoring your home’s water system.
Step-by-Step Guide to Replacing Your Well Pump
Replacing a submersible well pump may seem daunting, but with careful planning and following well pump installation steps, you can ensure a smooth transition to a reliable water supply. Safety is paramount, so always disconnect power before you begin.
Power Off and Prepare the Work Area
Begin by cutting off the electricity to your well pump system to eliminate any risk of electric shock. Clear the area around your well, ensuring you have ample space to work and place tools and components. Use caution tape or markers to remind others of the work zone.
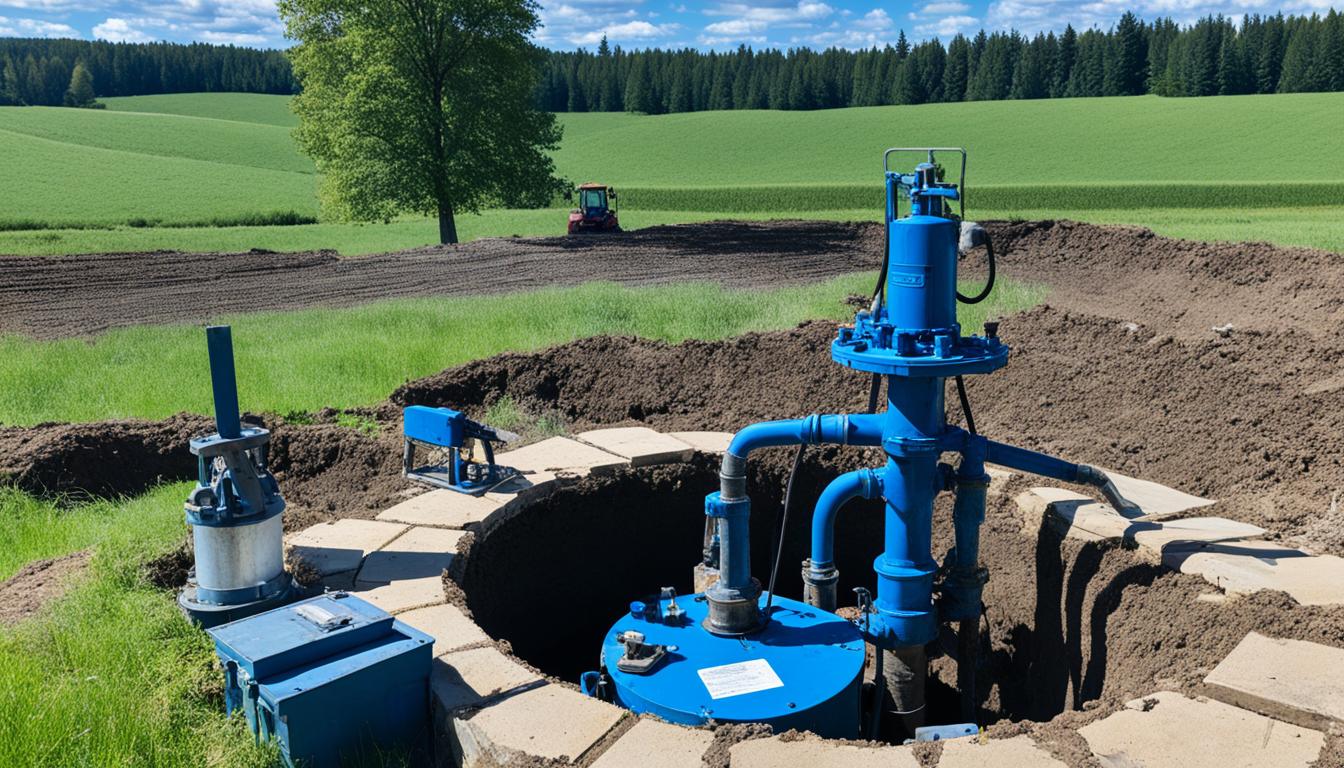
Removing the Old Well Pump
Extraction of the old pump should be done with care to prevent damaging the well casing. Disconnect the well pump connection and then lift the pump gradually, ensuring that no debris falls into the well.
Installing the New Pump Correctly
Before installing the new pump, inspect it and compare it to your old one to ensure compatibility. Gradually lower it into the well, securing it properly and verifying that it is at the correct depth according to manufacturer recommendations.
Connecting and Testing Your New Pump
Once the new well pump is in place, reestablish the electrical connections following the manufacturer’s diagram. After ensuring all connections are secure, restore power and test your setup. If your pump is not operating as expected, begin troubleshooting new well pump issues by checking for common faults like airlocks or impeller blockages.

To help ensure you’ve got every step remembered, consider following this detailed checklist:
| Task | Description | Check |
|---|---|---|
| Disconnect Power | Ensure all electrical sources to the pump are deactivated. | |
| Prepare Area | Clear and mark the work zone. | |
| Remove Old Pump | Carefully extract the old pump, avoiding well damage. | |
| Inspect New Pump | Check the new pump against the old for compatibility. | |
| Install New Pump | Lower the new pump and secure it at the correct depth. | |
| Reconnect Power | Reestablish electrical connections with care. | |
| Test Pump | Turn on the power and monitor the pump’s performance. | |
| Troubleshoot | Address any issues such as airlocks or blockages. |
Adhering to these steps systematically will help you navigate the complexities of replacing a submersible well pump efficiently and safely. Remember, taking your time to double-check each step in the well pump installation process can prevent future problems and ensure enduring performance.
Conclusion
Embarking on the journey of a well pump DIY can be a fulfilling venture, rewarding you not only with savings but with the empowerment that comes from enhancing your skills and maintaining your home’s water system. This guide has aimed to equip you with a comprehensive understanding, from the initial assessment of your well pump issues to the triumphant restoration of your water supply.
Remember that vigilance and routine maintenance play pivotal roles in the longevity and reliability of your water well system. Be proactive in troubleshooting well pump issues to prevent major problems down the line. And should complexities or uncertainties arise, consider this guide as a valuable resource to revisit. It’s tailored to assist you in fine-tuning your approach and effectively addressing the intricacies of well pump management.
In your quest for well pump DIY success, your attention to detail and adherence to safety and procedure will pave the way for a smoothly running system. Your efforts are not merely a one-time solution but a significant contribution to the enduring welfare of your home’s water supply. With each challenge you overcome, your expertise grows, ensuring that you are well-prepared for the responsibility of a functional and resilient water well system.
FAQ
What are the initial steps I should take before attempting to replace my well pump?
Begin by familiarizing yourself with your home water system and diagnosing your well pump issues. Make sure to turn off the power supply for safety and prepare the work area around your well.
How do I identify the type of well pump I have?
You can identify whether you have a submersible pump, which is located within the well, or a jet pump, situated above ground. Determine the type by checking the pump’s location and consulting your well system documentation.
What are the common signs that my well pump needs replacement?
Common symptoms indicating the need for a replacement include fluctuating water pressure, unusual noises from the pump, or no water being pumped. These could be well pump failure symptoms requiring your immediate attention.
Which tools are essential for replacing a well pump?
Necessary tools include a pipe wrench, Teflon tape, safety rope, and a well pump repair kit. The specific tools you’ll need might vary depending on whether you’re replacing a submersible or jet pump.
What safety equipment should I consider when replacing my well pump?
Always use protective gloves, eyewear, and any other recommended safety gear for well replacement to prevent injuries. Ensuring your personal safety is paramount during the repair process.
Can you provide a step-by-step guide for well pump removal?
The initial step is to power off all electrical connections to the well pump. Next, remove any well cap or cover, disconnect the well pump’s wiring, and carefully extract the pump from the well, making sure to follow proper safety protocols.
How do I correctly install a new well pump?
After successfully removing the old pump, prepare the new pump for installation. Ensure it is correctly positioned, securely fastened with the appropriate fittings, connect the electrical wires following manufacturer instructions, and then carefully lower it into the well.
Once installed, how do I test my new well pump to ensure it’s working properly?
After connecting your new pump, slowly turn the power back on and monitor the system for any leaks or irregular sounds. Test the water flow and pressure at various faucets to confirm that the pump is functioning correctly. If you encounter issues, refer to well pump troubleshooting guides.
Are there preventive maintenance tips to avoid future well pump failures?
Regular maintenance includes periodic checks for leaks, monitoring water pressure for anomalies, and ensuring the pump’s components are in good condition. Keep an eye on the pump’s performance and address any minor issues before they escalate.
Where can I find additional information if I have trouble with DIY well pump replacement?
For additional guidance, consult your pump’s manufacturer manual, seek advice from professional plumbers experienced with well pumps, or find online resources and communities dedicated to DIY home maintenance and well pump troubleshooting.
This post contains affiliate links.