This post contains affiliate links.
When the water flow in your home dwindles to a trickle, panic often ensues. But what if you could transform that anxiety into action and fix your well pump DIY style? It’s a scenario that many homeowners face, and with professional repair services often costing a small fortune, learning the art of well pump troubleshooting could be a game changer for your household budget.
This comprehensive DIY Well Pump Repair Guide isn’t just about patching up problems; it’s designed to instil confidence and foster self-reliance. With these easy-to-follow well pump repair instructions, you’ll not only save on well pump service fees but also understand your home’s water system better than ever before. Get ready to roll up your sleeves and dive into a skill set that pays off both now and in the future.
Key Takeaways
- Learn the essential steps in assessing and fixing common well pump issues.
- Grasp the basics of well pump system operation to confidently undertake repairs.
- Save significantly on well pump service costs by mastering DIY repair techniques.
- Equip yourself with the right tools and safety knowledge for effective well pump maintenance.
- Understand when it’s within your capability to repair and when to seek professional help.
Understanding the Basics of Well Pump Systems
Grasping the fundamental aspects of well pump systems is crucial for both regular maintenance and troubleshooting. To effectively manage and repair your well pump, it’s essential first to determine what type of system you have in place and to recognize the distinct signs that may indicate a malfunction. Armed with the right tools and adhering to safety guidelines, you can approach DIY well pump maintenance with confidence.
Identify Your Well Pump Type
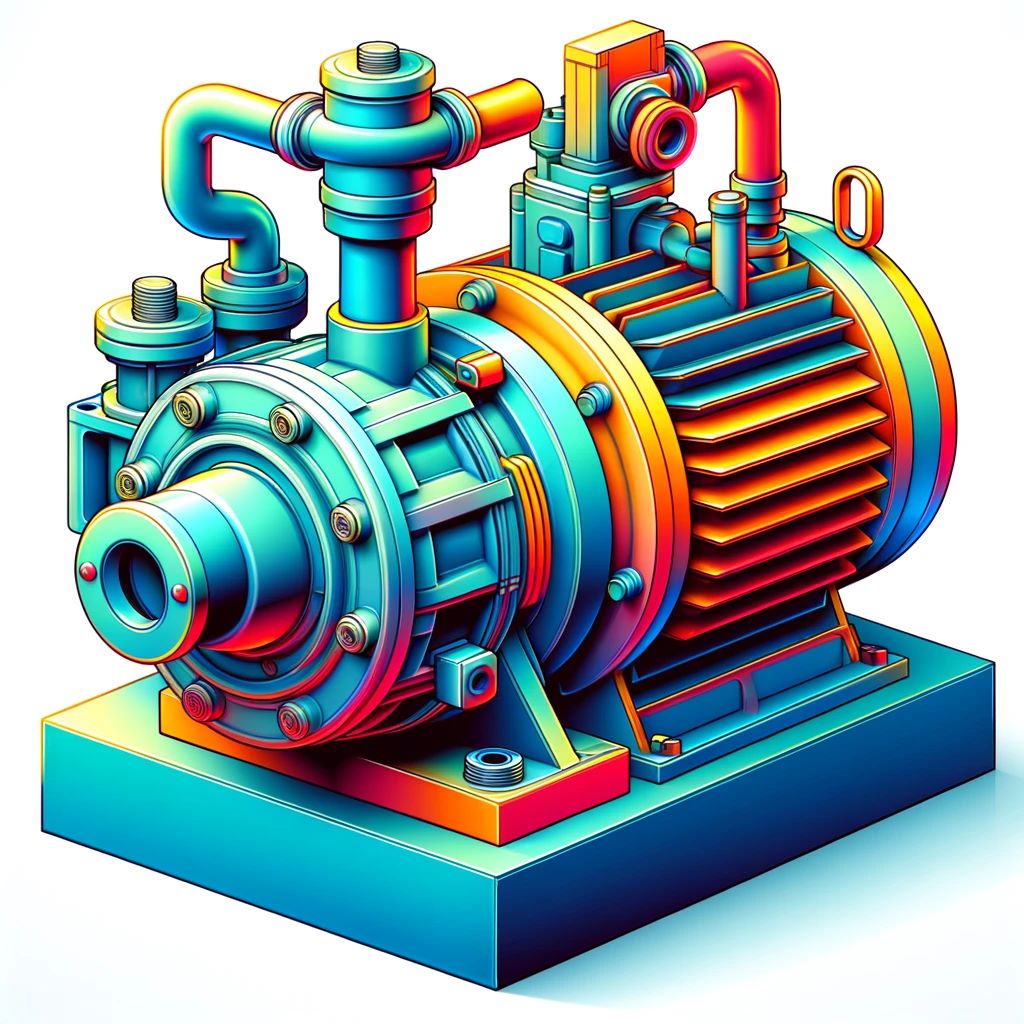
Knowing whether you have a submersible pump or a jet pump forms the basis of understanding your well system’s operations. Submersible pumps are located within the well itself and push water to the surface, while jet pumps are installed above the ground and draw water up. Identifying your pump type is the first step to targeted well pump care.
Common Signs of Well Pump Failure
Stay alert to well pump failure symptoms to preemptively address issues before they escalate. Indicators such as erratic water pressure, strange noises, or a spitting faucet can all hint at underlying problems within your system. Recognizing these signs early on can save on potential repair costs and prevent a full system breakdown.
Essential Tools and Safety Gear
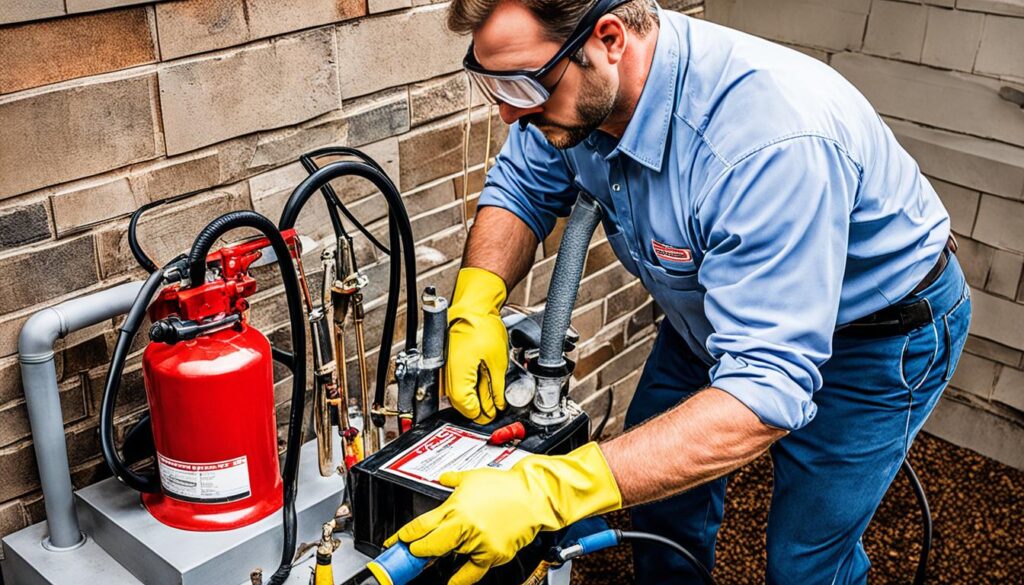
Gathering the necessary well pump repair tools is vital for a successful DIY endeavor. A basic toolkit should include pipe wrenches, voltage testers, and Teflon tape. Additionally, prioritizing your safety with electrical shutoff protocols and personal protective gear such as gloves and eyewear is non-negotiable.
| Tool or Gear | Usage | Safety Consideration |
|---|---|---|
| Pipe wrench | Loosening or tightening fittings | Ensure wrench fits properly to avoid slippage |
| Voltage tester | Verifying power is off | Test before touching wires to prevent shock |
| Teflon tape | Sealing threads to prevent leaks | Keep tape away from the inside of pipes to avoid contamination |
| Personal protective equipment (PPE) | Protecting oneself while working | Use rated safety gear appropriate for electrical and plumbing work |
Bearing these guidelines in mind, your path to DIY well pump safety and maintenance becomes clear and structured. It is not just about repairing the pump but also ensuring the longevity and reliability of your household’s water supply system.
Preparing for the Repair
Embarking on a well pump repair preparation journey means taking a step towards self-sufficiency and ensuring the reliability of your home’s water supply. To facilitate a hassle-free setup for well pump DIY repair, it’s crucial to adhere to certain safety measures well pump repair best practices. Your primary step should be to power down the system to eliminate any electrical hazards. Such precautionary measures are the backbone of any successful DIY project.

- Turn off the electricity to the well pump at the breaker box to prevent electrocution.
- Inform everyone in the household that a repair is underway to avoid the system being unintentionally re-energized.
- Inspect all tools and replacement parts to guarantee they’re fit for use and easily accessible.
- Ensure your workspace is clear of debris and spacious enough for safe movement.
Organizing your workspace offers not only ease but also contributes significantly to the repair’s efficiency. By having everything within reach, you’ll minimize the risk of interruptions that could affect the flow of your work or compromise your safety.
Remember, effective preparation is more than just a preliminary task; it sets the tone for the entire repair process.
Troubleshooting Common Well Pump Issues
When you experience issues with your well pump, prompt action can prevent more significant problems. Before seeking professional help, there are several well pump troubleshooting steps you can undertake to fix water pressure issues, resolve well pump short cycling, and reset a well pump safely. Understanding the technical aspects of your well pump’s operation is essential in maintaining your water supply’s reliability and longevity.
Addressing Loss of Water Pressure
If you’ve noticed a decline in water pressure, there could be multiple culprits behind the problem. It could be a clogged sediment filter, a broken pressure gauge, or air entering the system. Begin by inspecting the pressure tank’s gauge and adjusting the pressure switch if necessary. Follow these steps methodically to ensure you don’t miss a potential simple fix.
Dealing with Short Cycling
Short cycling, when your well pump turns on and off too rapidly, can place undue stress on the pump and reduce its lifespan. This often stems from a waterlogged pressure tank or a faulty pressure control switch. Here’s a quick guide to diagnosing and fixing the root cause:
- Check the pressure in the tank and ensure it’s two psi below the cut-in pressure of the switch.
- Inspect the pressure switch for any noticeable damage or wear.
- If the tank is waterlogged, it may need to be drained or the air charge adjusted.
Resetting Overload Protectors
Modern well pumps are equipped with overload protectors to prevent motor damage due to overheating. If the pump stops working, it could be due to an overload trip. Here’s how to reset well pump overload protectors:
- Turn off the power to the pump at the electrical panel.
- Wait a few minutes to let the pump motor cool down.
- Press the reset button located on or near the pressure switch.
- Restore power and observe if the pump starts operating normally.
Note: Always exercise caution when working with electrical components and consult your pump’s user manual for specific instructions.
| Issue | Possible Cause | Action to Take |
|---|---|---|
| Low Water Pressure | Clogged filters or aerator | Clean or replace filters |
| Short Cycling | Waterlogged tank | Drain the tank and adjust the air charge |
| Pump Not Starting | Tripped overload protector | Reset the protector and monitor the pump |
Understandably, well pump troubleshooting can seem complex, but with the right knowledge and approach, you can often fix common issues yourself. Remember, some well pump problems may require professional repair services, especially if they involve extensive electrical work or deep well pumps. When in doubt, it’s best to call a licensed technician to avoid further damage to your system.
Step-by-Step Well Pump Repair Yourself
Empowering yourself with the knowledge to conduct a well pump repair can be both cost-effective and rewarding. By tackling a few common issues that afflict well pumps, such as part replacement and motor repairs, and by following routine maintenance, you’ll safeguard the longevity and performance of your system. Below is a practical guide outlining key steps you can take to maintain and repair your well pump with confidence.
Replacing Defective Parts
Identifying and replacing failing components is paramount for the well-being of your well pump. Whether it’s a corroded seal or a dysfunctional valve, ensuring timely well pump part replacement can prevent more significant issues down the line. Here are the basic parts you might need to replace:
- Pressure Switches
- Check Valves
- Impellers
- Pump Seals
It’s critical to refer to your pump’s manual when ordering parts and during the replacement process to ensure compatibility and proper installation.
Motor and Electrical Repairs
Well pump motor repair and well pump electrical troubleshooting are tasks that require a safety-first approach. Always disconnect power before attempting repairs and use a multimeter to confirm there is no voltage present. If you’re unfamiliar with electrical components, such as capacitors and wiring, consulting a professional may be your safest bet. However, common motor-related repairs you can perform include:
- Cleaning and replacing motor bearings
- Adjusting or replacing the motor capacitor
Cleaning and Maintenance Tips
Regular well pump maintenance is crucial for preventing unexpected breakdowns and for ensuring the system’s efficiency. Keeping your well pump clean can prevent sediments and debris buildup that could lead to malfunctions. Here’s a simple maintenance checklist:
- Inspect and clean the pump inlet screen.
- Flush out sediments from the pump’s system.
- Lubricate necessary moving parts.
- Monitor and adjust pressure settings as needed.

By following these guidelines, you’ll be well on your way to ensuring that your well pump continues to provide reliable service for years to come. Bear in mind that if you encounter complex issues or don’t feel confident in performing certain repairs, it’s prudent to contact a qualified technician. Proper care and occasional professional insight will bridge the gap between DIY and expert oversight, ensuring your well pump’s optimal performance.
Ensuring a Successful DIY Well Pump Repair
Completing a DIY repair on your well pump can be quite satisfying, but to truly ensure success, it’s crucial to follow through with careful post-repair processes. Thorough testing and inspection are essential to verify the work’s effectiveness and maintain the longevity of your well pump system.
Testing the Repaired Well Pump
Post-repair well pump testing is the first step to confirm that the repair has been successful. Running a series of performance assessments can help guarantee that the pump is operating as expected. It’s important to check the pressure switch operation and the pump’s cut-in and cut-out cycle times. If these parameters aren’t within manufacturer specifications, it might indicate a persistent issue that needs to be addressed.
Checking for Leaks and Other Issues
Even the smallest well pump leak checks can prevent a minor issue from becoming a major one. After restarting the pump, closely examine all connections for any signs of water seepage. Pay attention to the pressure tank and the area around the pump itself; any dampness or pooling water should be investigated immediately. Make sure all seals and fittings are tight to avert potential leaks or damage.
When to Call a Professional
Sometimes, despite your best efforts, a repair may exceed the scope of DIY and require professional well pump services. If after your repair and testing efforts, the system still exhibits inconsistent pressure, strange noises, or other operational concerns, it’s wise to consult with an expert. Persistent issues may indicate a more complex problem within the well system that a professional technician can diagnose and fix efficiently.
| Checkpoint | DIY Repair | Professional Service |
|---|---|---|
| Operational Test | Monitor pressure switch and cycle times | Comprehensive diagnostics and optimization |
| Leak Assessment | Visual inspection for wet spots and drips | Pressure testing and seal integrity checks |
| Noise and Vibration | Check for loose parts or air in the system | Detailed examination of the pump and motor |
| Complex Issues | Limited ability to resolve without proper tools | Advanced repair techniques and equipment |
Remember, the goal is not only to repair but also to preserve the efficiency and longevity of your well pump system. By approaching post-repair testing and leak checks with diligence, you can enjoy a well-functioning pump. And when a challenge arises that calls for expertise beyond your skill set, don’t hesitate to seek out professional well pump services.
Conclusion
Embarking on the path of DIY well pump repair not only equips you with invaluable practical skills but also underlines the spirit of self-reliance in well pump maintenance. Throughout this guide, we’ve navigated the complexities of troubleshooting and the step-by-step interventions essential to restoring your system’s functionality. Your newfound understanding and capability to execute repairs are a testament to the successful application of well pump DIY success principles.
By taking matters into your own hands, you’ve embraced cost-effective well care that can significantly reduce expenses associated with professional services. This journey of repair and maintenance has unlocked the potential for substantial savings while instilling a sense of accomplishment in managing one of your home’s critical systems. However, the road to self-sufficiency comes with a cautionary reminder: some issues necessitate professional expertise. The value of seasoned specialists cannot be overstated when faced with complex challenges beyond the scope of home repair.
In conclusion, the tools and knowledge you’ve gathered serve not only for immediate repair needs but also fortify your capability to maintain long-term water system reliability. While many problems can indeed be resolved within the comfort of your home, keeping the contact details of trusted professionals at hand ensures you’re prepared for any scenario. Practice due diligence, trust your skills, and remember that certain conditions will warrant the reassurance that only a professional can provide.
FAQ
How can I tell if my well pump needs troubleshooting?
Signs that your well pump needs troubleshooting may include erratic water pressure, strange noises during operation, or no water at all. It’s important to recognize these well pump failure symptoms early to address the issues promptly.
Can I fix my well pump myself?
Yes, with the right well pump repair instructions and tools, you can perform basic repairs on your well pump. However, ensure you are comfortable with DIY projects and understand the safety risks involved. If you are uncertain, it’s best to contact a professional.
What are the types of well pumps, and how do they differ?
The two main types of well pumps are submersible pumps and jet pumps. Submersible pumps are located inside the well and push water to the surface, while jet pumps are installed above ground and draw water up. The repair methods for each type can vary significantly.
What safety measures should I take before attempting well pump DIY repair?
Before starting any repair, turn off the electrical power to your well pump system, inform your household to prevent accidental power reconnections, and use personal protective equipment. Always follow the CDC’s safety recommendations while handling any electrical components.
What tools are essential for well pump repair?
You will need a range of tools for well pump repair, including but not limited to pipe wrenches, voltage testers, Teflon tape, and possibly replacement parts like seals or valves. Ensure you have a complete toolset before starting the repair process.
How do I address loss of water pressure in my well pump?
To fix water pressure issues, first check if the pressure tank switch is functioning properly. If the switch is fine, inspect the pump itself and the pipes for any leaks or blockages. Refer to specific well pump troubleshooting steps for guidance.
When should I reset the overload protector on my well pump?
Reset the overload protector if your well pump stops working or is overheating. This is a safety feature to prevent damage to the pump motor. Follow the manufacturer’s instructions or guidelines from trusted sources on how to reset your specific model correctly.
How do I test my well pump after making repairs?
After completing repairs, test your well pump by turning the power back on and observing its operation. Check for consistent water pressure, unusual noises, or vibrations. Post-repair well pump testing is crucial to ensure all issues have been resolved.
Can short cycling damage my well pump?
Yes, short cycling can cause significant harm and reduce the lifespan of your well pump as it leads to excessive wear and tear on the pump and the motor. Once identified, resolve short cycling promptly to protect your pump’s functionality.
How often should my well pump be maintained?
Regular maintenance is key to prolonged well pump life. It is recommended to perform checks and cleaning at least annually. Keeping an eye on the system’s performance and addressing any minor issues as they arise can prevent larger problems.
What are signs I should call a professional to service my well pump?
If you encounter complex issues beyond your skill level, such as deep electrical problems or if your pump needs extensive motor repair, it’s time to call a professional. Also, if after troubleshooting and repairs the issues persist, a professional’s help is advisable.
This post contains affiliate links.

